

Documentation
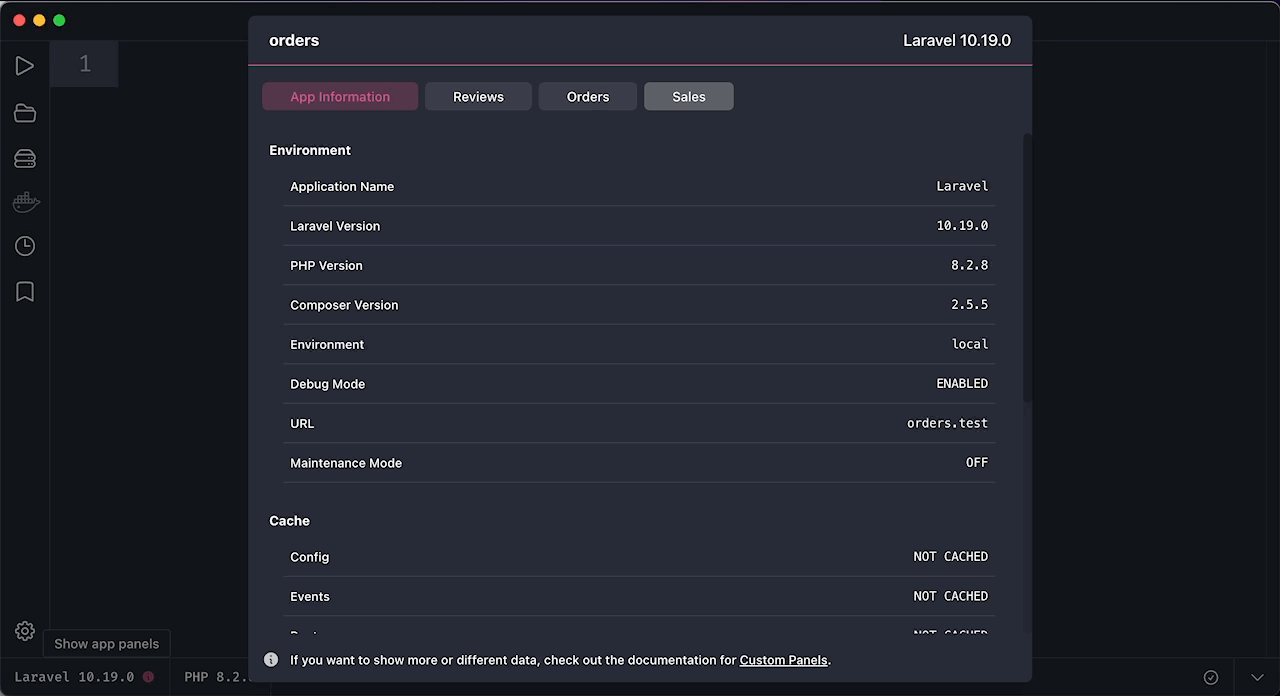
With Panels, Tinkerwell offers a concise and visually appealing way to get a snapshot of specific details about your application. By clicking on the framework version located at the bottom left corner of Tinkerwell, next to the small Information icon, you open up the panels for the current working directory.
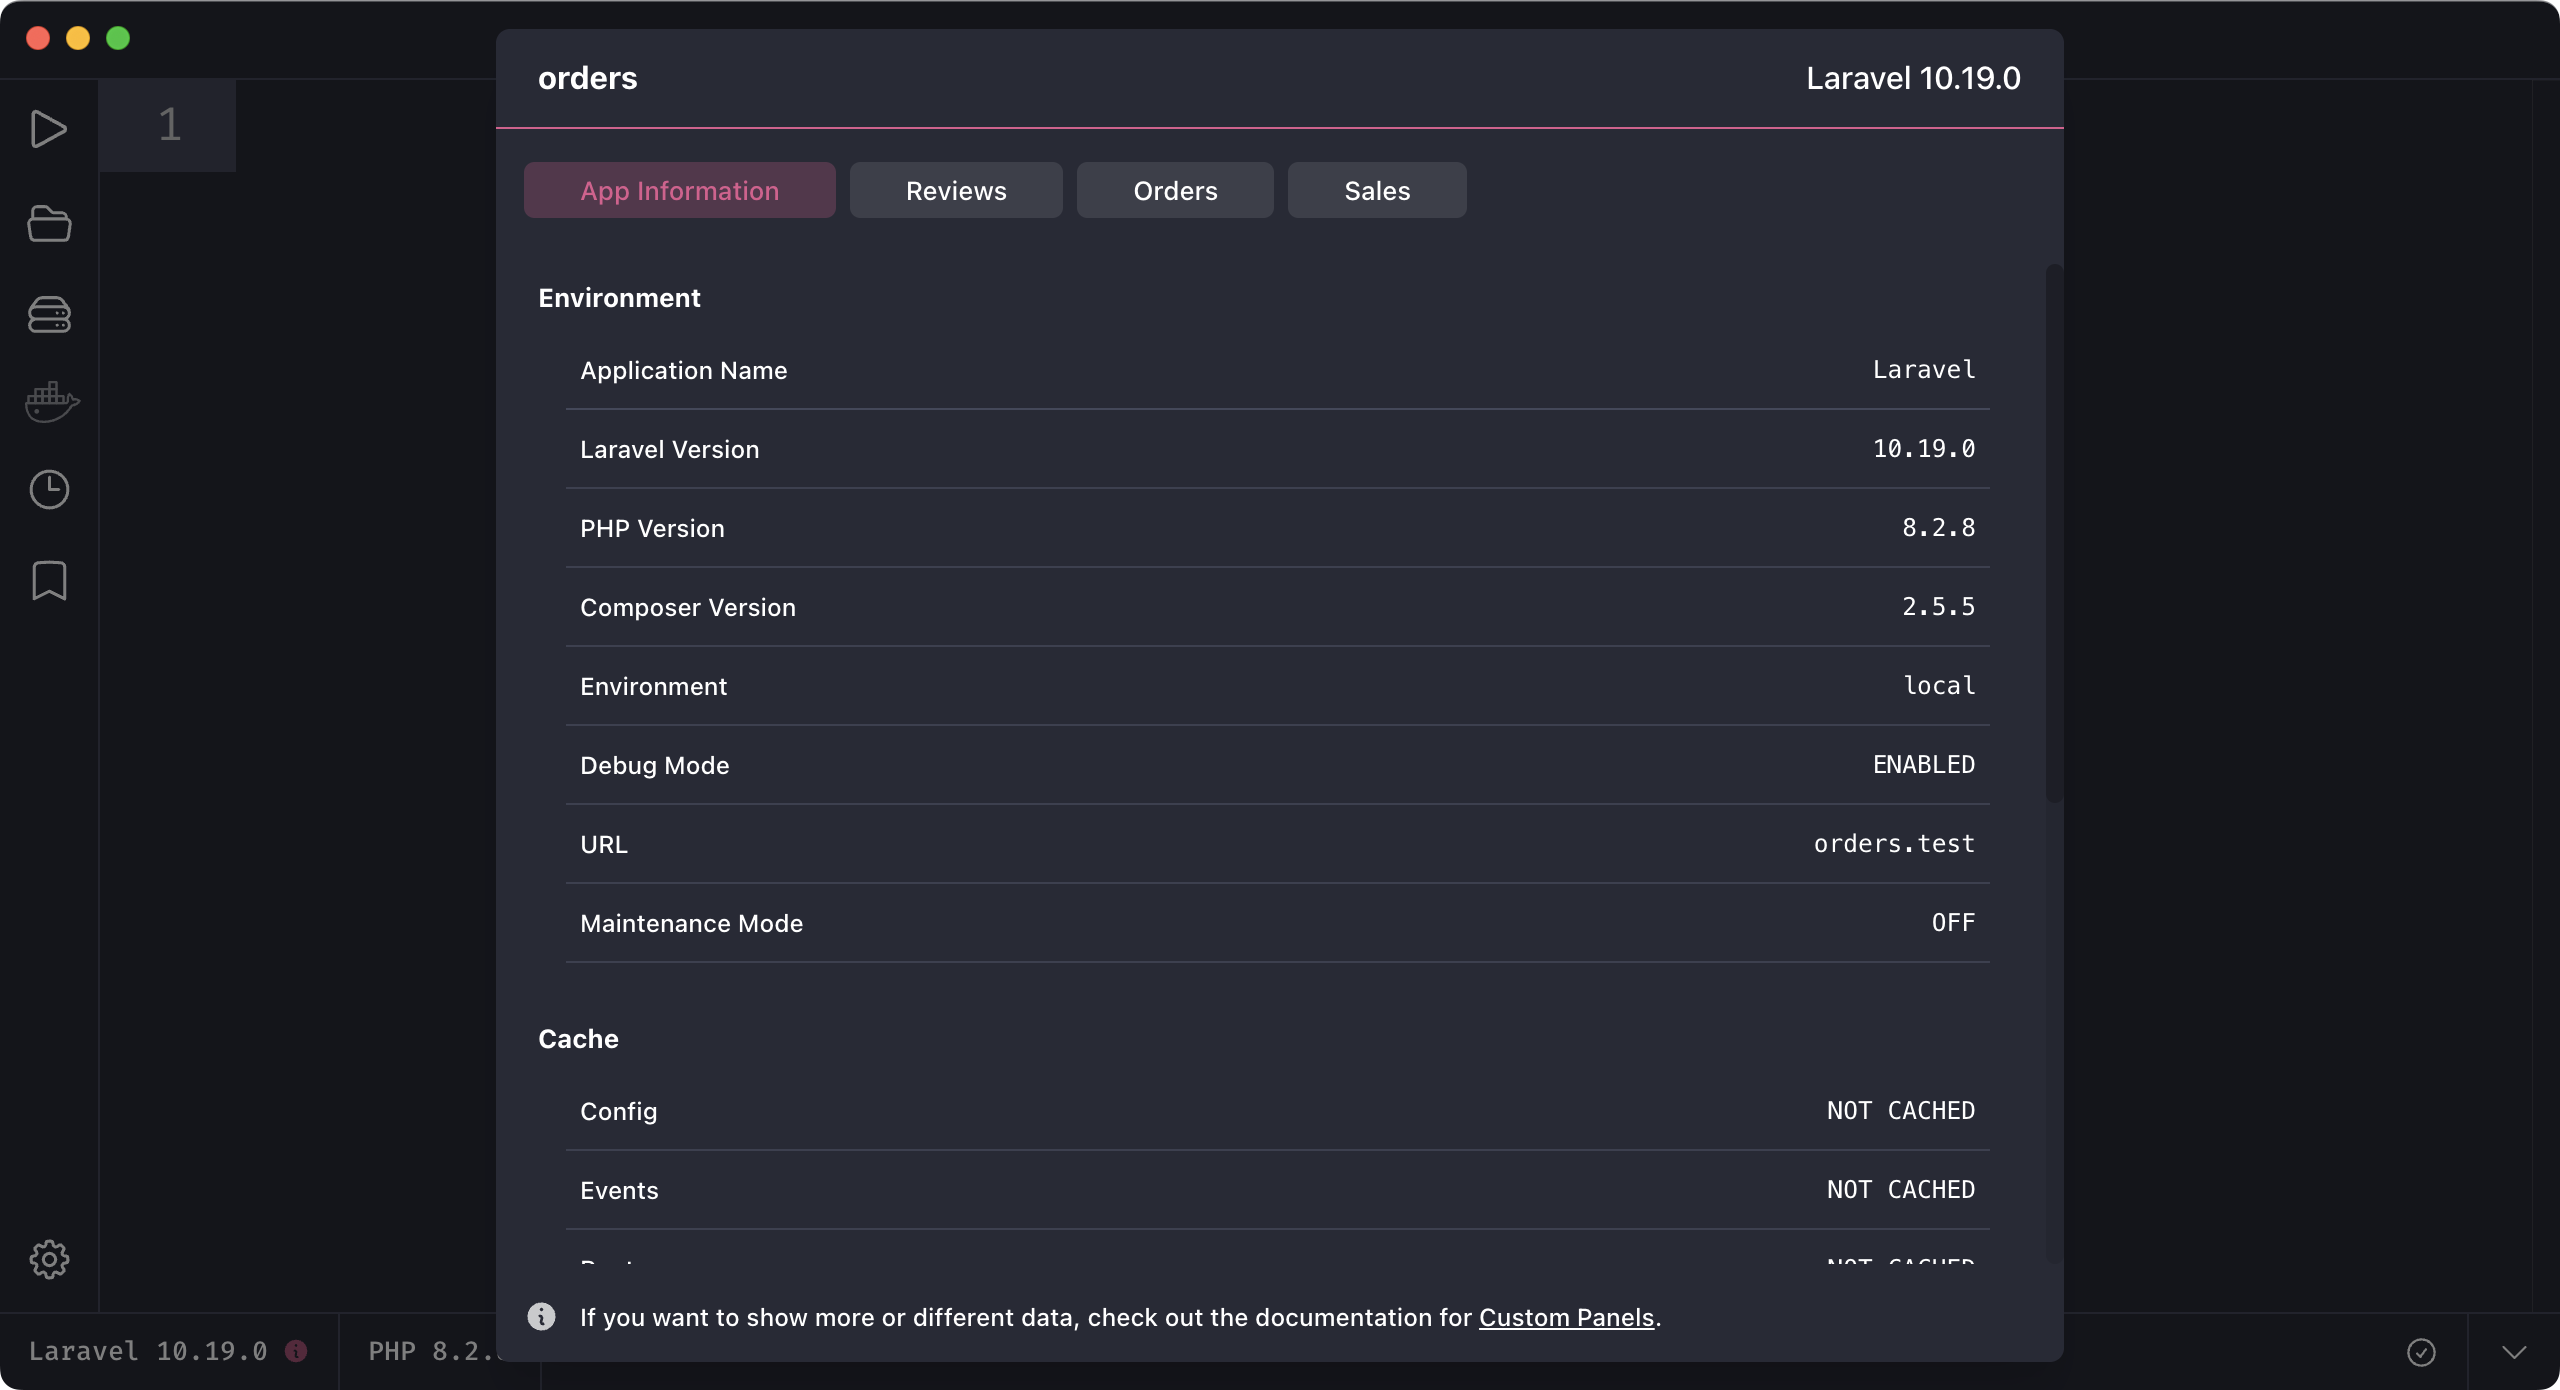
The default panel for a Laravel application provide a window into crucial details such as the current version, app environment, and cache configurations. Tinkerwell is designed to adapt its display based on the specific framework in use, so that users can access information regardless of the framework they work with.
There are two ways to create customized panels for your app: by the custom driver or by creating files within you application. Keep in mind that both panels from the driver and the panels provided by files are merged into the UI. If an application has more than one panel, you can navigate through them by the tab bar:
For more details about implementing custom panels, see the Deep Dive section.
Tinkerwell allows the addition of personalized panels by establishing a new file inside the .tinkerwell/panels folder. This file and its associated class should end with the suffix Panel.
.tinkerwell/panels/SalesPanel.php
use Tinkerwell\Panels\Panel;use Tinkerwell\Panels\Table\Section;use Tinkerwell\Panels\Table\Table; use App\Models\Revenue; class SalesPanel extends Panel{ public function __construct() { $this->setTitle("Sales"); $sales = Table::make()->addSection( Section::make() ->setTitle("Revenue") ->addRow( "Today", Revenue::where("created_at", ">=", today())->sum("revenue") ) ->addRow( "This month", Revenue::where("created_at", ">=", today()->startOfMonth())->sum( "revenue" ) ) ); $this->setContent($sales); }}Another avenue to tweak panels is by leveraging the appPanels() method inside the applications custom driver.
use Tinkerwell\Panels\Panel;use Tinkerwell\Panels\Table\Section;use Tinkerwell\Panels\Table\Table; use App\Models\License; class MyCustomTinkerwellDriver extends LaravelTinkerwellDriver { /* ... */ public function appPanels() { $licenses = Table::make() ->addSection( Section::make() ->setTitle("Tinkerwell") ->addRow("Lifetime", License::tinkerwell()->lifetime()->count()) ->addRow("Education", License::tinkerwell()->edu()->count()) ->addRow("Total", License::tinkerwell()->count()) ) ->addSection( Section::make() ->setTitle("Invoker") ->addRow("Lifetime", License::invoker()->lifetime()->count()) ->addRow("Total", License::invoker()->count()) ); return array_merge( parent::appPanels(), [ Panel::make() ->setTitle("Licenses") ->setContent($licenses) ->toArray() ] ); }}Tinkerwell comes pre-equipped with built-in panels for several frameworks, such as Laravel, Shopware, and WordPress. If you are seeking inspiration for crafting your panels, explore the beyondcode/tinkerwell package.
For a smoother experience when shaping your custom panels, especially with autocompletion and reference samples, consider adding the beyondcode/tinkerwell package as a development dependency:
composer require --dev beyondcode/tinkerwellNote: This package isn't mandatory for panel customization. Its primary purpose is to enhance the developer's experience.
To get the most out of Tinkerwell Panels, it's important to understand these core components:
This method is only relevant when implementing a panel via the custom driver's appPanels() method.
The Panel class constructs the overarching panel, specifying both a title (shown in the tab bar) and content.
As of the current version, the only supported content type for the panel is a Table which can integrate multiple sections to detail various app metrics or data.
If you have suggestions or ideas for introducing new content types to panels in future updates, feel free to reach out!
use Tinkerwell\Panels\Panel; $panel = Panel::make() // Determines the title of the panel, as visible in the tab bar ->setTitle("Licenses") // Sets the content for the panel. As of now, only `Table` is supported. ->setContent($licenses);The Table class acts as a structured container within a panel. Each table can comprise multiple sections, thus allowing for the organized representation of data. These sections, each with their own title, provide a detailed breakdown of the data within the table.
use Tinkerwell\Panels\Table\Table; $table = Table::make() // Incorporates a fully constructed section (using the Section class) into the table. ->addSection($yourSection);The Section class represents a distinct segment within a table. Each section has a title and houses key-value pair rows that depict specific pieces of data, such as app metrics or status.
use Tinkerwell\Panels\Table\Section; $section = Section::make() // Sets the title of the section ->setTitle("Revenue") // Incorporates a row of data within the section, // with $key being the descriptor and $value representing the associated data ->addRow("Yesterday", "€" . number_format($yesterdaySales, 2)) ->addRow("This month", "€" . number_format($monthSales, 2));Using these classes together makes your panels clear and informative for easy insights.