
 Tinkerwell
Documentation
Tinkerwell can evaluate your PHP code in different ways: It either runs your code automatically as you type, or requires you to press Cmd/Ctrl + R to run and evaluate the code. This behavior can be changed in the settings.
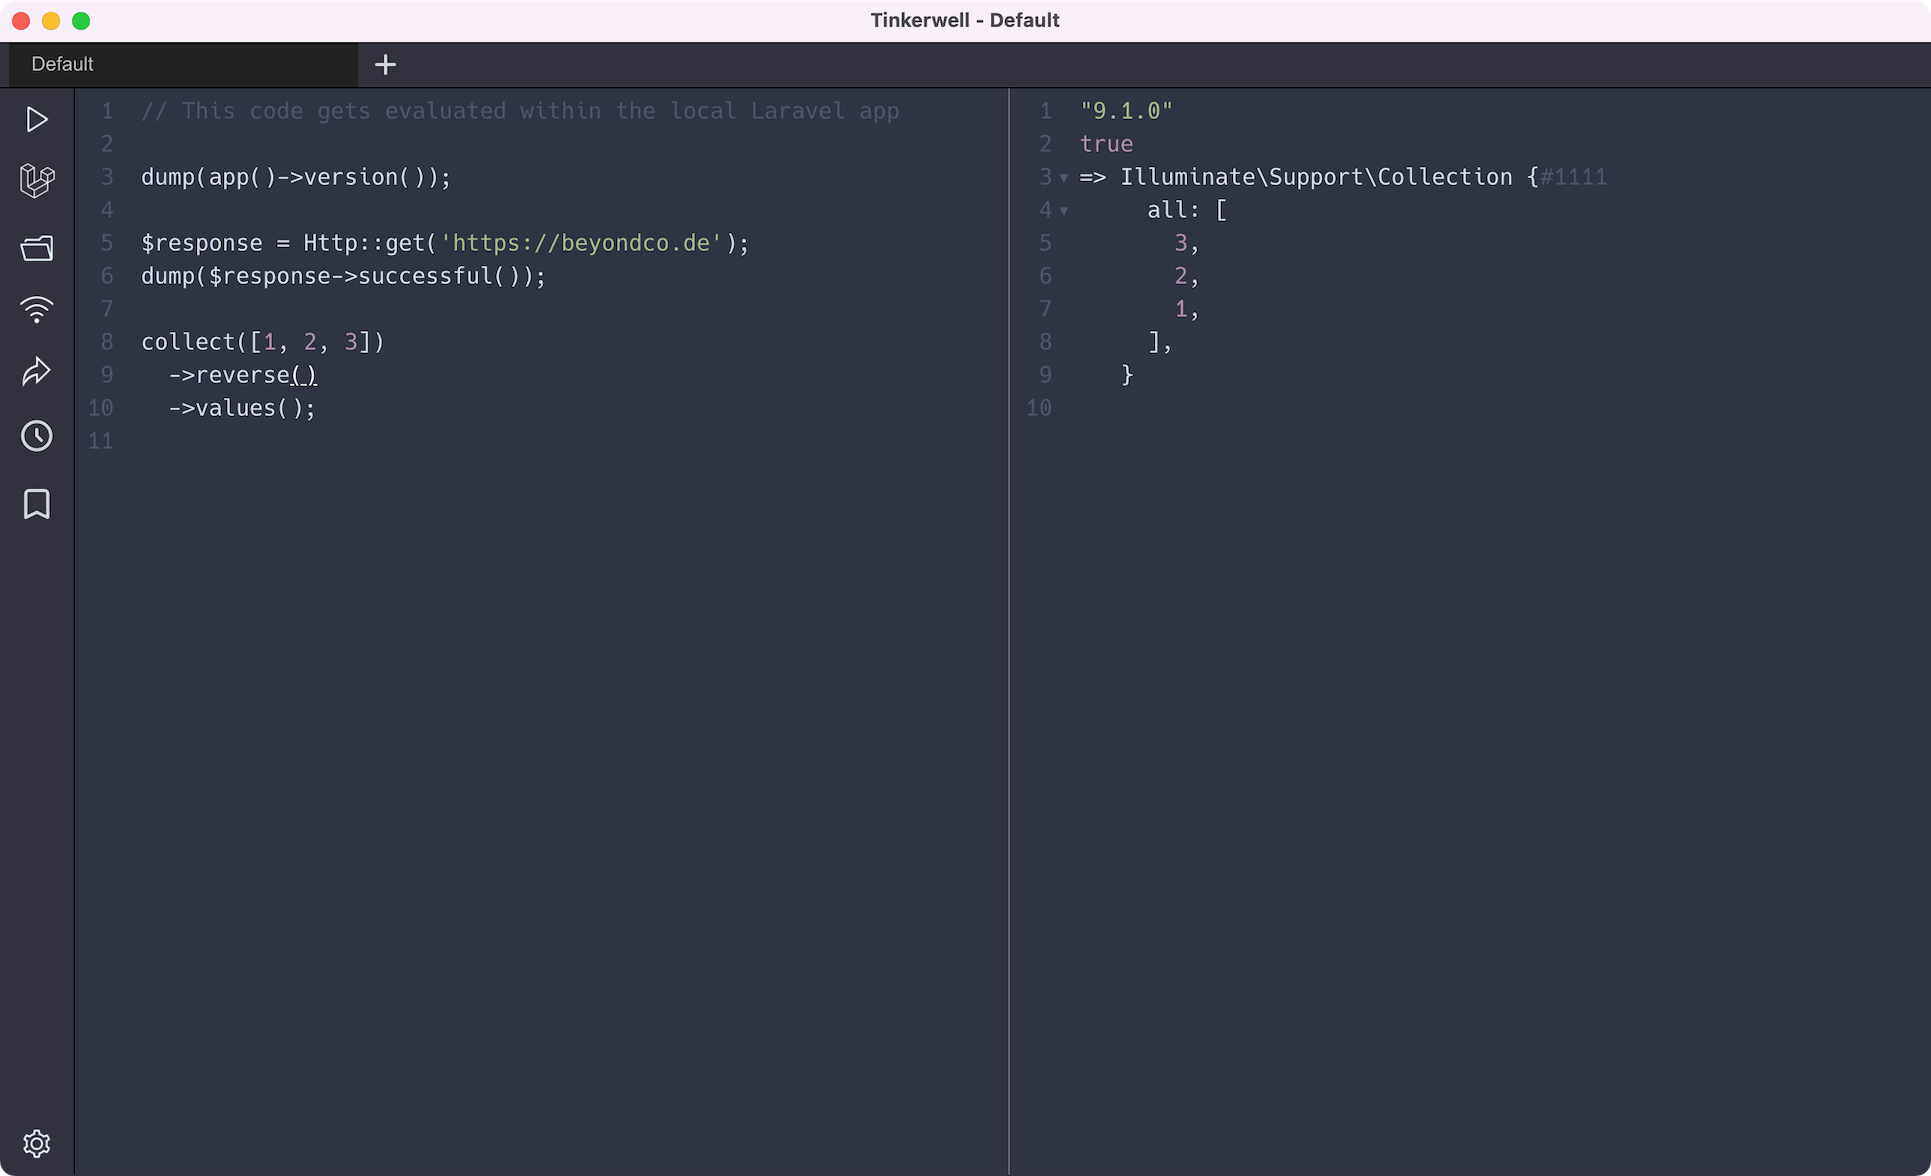
The easiest way of using Tinkerwell is by starting the app and writing code in the default project. This runs the code in the integrated Laravel environment and allows you to use all the nice Laravel features, such as the built-in HTTP client, Collections or a ton of useful helper methods.

Just paste this into your Tinkerwell editor:
// This code gets evaluated within the local Laravel app dump(app()->version()); $response = Http::get('http://test.com');dump($response->successful()); collect([1,2,3])->reverse()->values();Tip: You can always return to this mode by clicking on the Laravel icon in the menu bar.
While running your code in the built-in application is really nice to quickly try out some code snippets, the real magic happen when you run your code within your own local projects.
Tinkerwell already supports a lot of frameworks out of the box and can be extended by using custom drivers.
These frameworks and applications are supported without any additional driver:
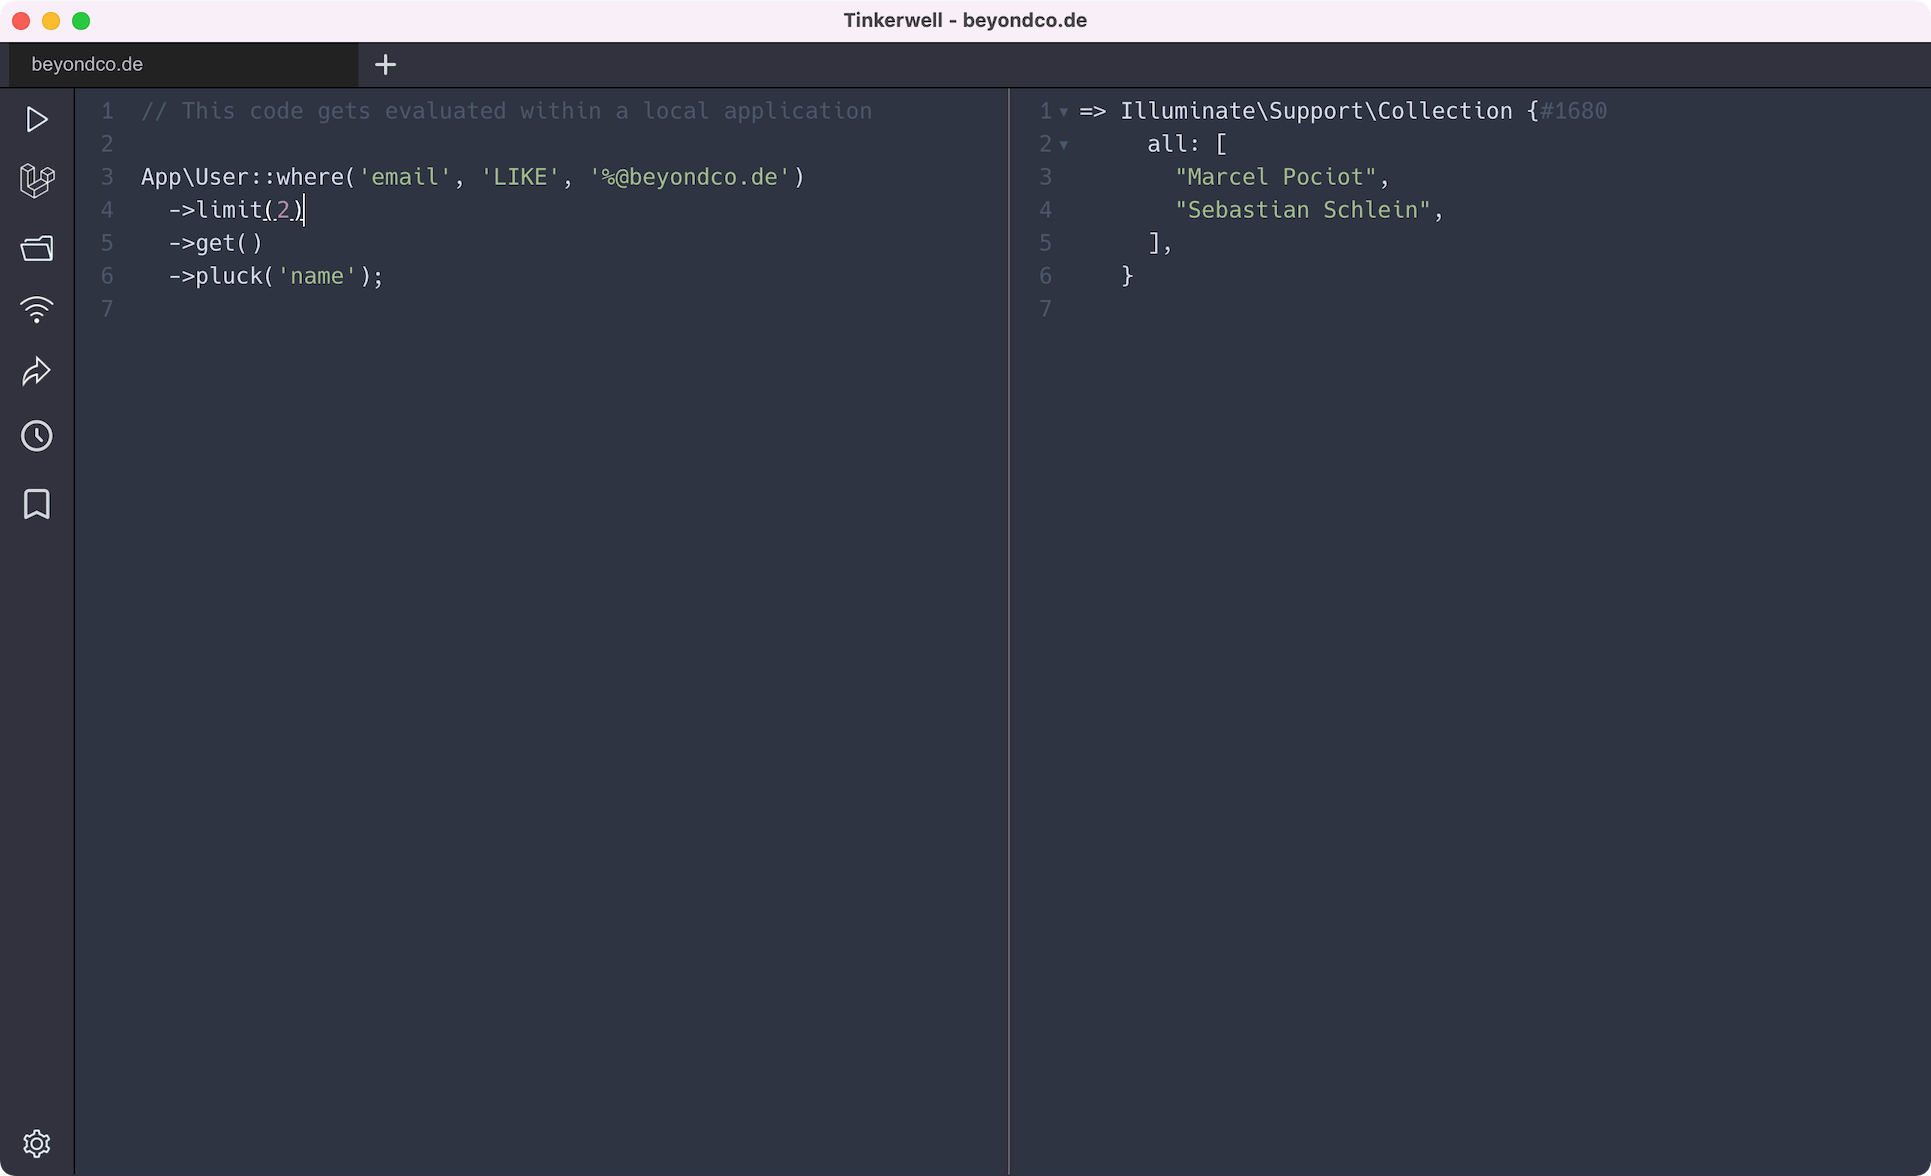
To run your code in one of your own projects, simply press Ctrl/Cmd+O. This will open a dialog that lets you choose a new working directory.
Once you loaded your project, the Tinkerwell status bar will indicate which project you have open at the moment.

Similar to running your code within a custom local project, you can also run your code in a custom remote project. This can be done using a SSH connection that allows Tinkerwell to securely connect to your remote server.
Check out the SSH documentation to learn all about it.